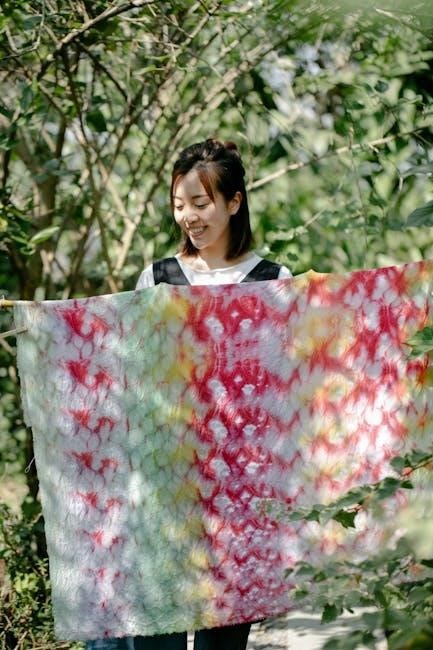
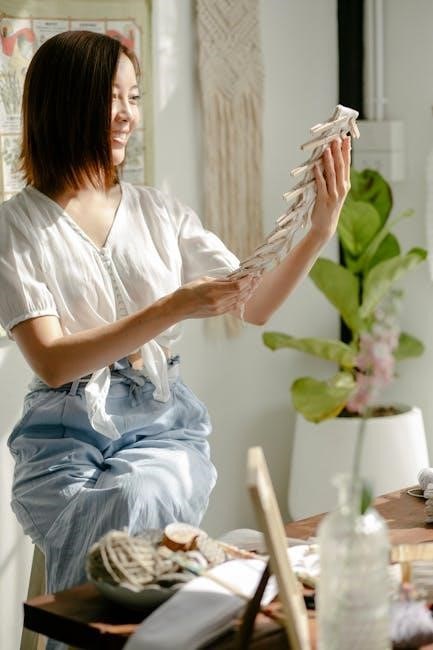
Tie and dye is a traditional textile art involving folding‚ twisting‚ or binding fabric to create unique patterns before dyeing․ This technique combines creativity and craftsmanship‚ producing vibrant‚ one-of-a-kind designs that blend art and functionality․ Popular in fashion and home decor‚ tie and dye continues to inspire artists and designers worldwide with its endless possibilities for self-expression․
1․1 Brief History of Tie and Dye
Tie and dye techniques date back thousands of years‚ with origins in ancient Africa‚ Asia‚ and South America․ These methods were used to create symbolic patterns on fabrics‚ reflecting cultural and spiritual beliefs․ Traditional cultures employed natural dyes and intricate folding to achieve unique designs‚ passing down techniques through generations as a cherished art form․
1․2 Importance of Tie and Dye in Fashion and Art
Tie and dye techniques hold significant value in fashion and art‚ offering unique‚ handcrafted designs that express individuality․ In fashion‚ they create distinctive‚ eye-catching garments that stand out in a market dominated by mass production․ In art‚ the process is celebrated as a creative medium‚ blending craftsmanship with aesthetic appeal‚ inspiring both traditional and contemporary designers to experiment with bold patterns and colors․
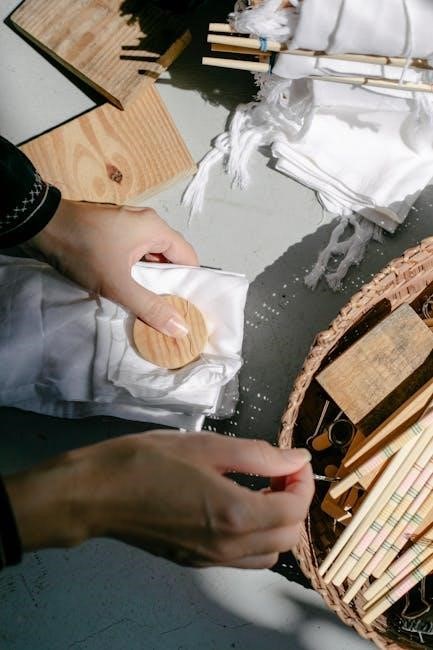
Materials and Tools Required for Tie and Dye
Tie and dye requires natural fabrics like cotton or silk‚ dye powders or natural dyes‚ bindings like rubber bands or strings‚ and tools such as buckets and gloves․
2․1 Essential Materials: Fabric‚ Dyes‚ and Bindings
The foundation of tie and dye lies in selecting the right materials․ Natural fabrics like cotton‚ linen‚ and silk are ideal for absorbing dyes evenly․ High-quality dye powders or natural dyes ensure vibrant colors․Bindings such as rubber bands‚ strings‚ or clips are used to create resistance areas‚ allowing the dye to form unique patterns on the fabric․
2․2 Optional Tools: Gloves‚ Buckets‚ and Squeeze Bottles
Gloves protect hands from dye stains‚ while buckets are useful for soaking fabric or mixing dyes․ Squeeze bottles allow precise dye application‚ enhancing pattern control․ These tools‚ though optional‚ can streamline the process and improve results․ They help maintain organization and precision‚ making the tie and dye experience more efficient and enjoyable for creators of all skill levels․
Basic Tie and Dye Techniques
Tie and dye involves folding‚ binding‚ or twisting fabric to resist dye penetration․ Techniques like folding‚ twisting‚ and binding create unique patterns․ These methods allow for creativity and experimentation‚ producing distinct designs each time․ They form the foundation for more complex processes‚ making them essential for beginners and experienced artists alike to master․
3․1 Fold and Bind Method
The fold and bind method involves folding fabric into desired shapes and securing with bindings like rubber bands or strings․ This technique creates resistance areas where dye cannot penetrate‚ resulting in distinctive patterns․ The tightness and placement of folds determine the design’s complexity․ It’s a simple yet versatile approach‚ ideal for achieving geometric or abstract effects in tie and dye projects․
3․2 Shibori Technique
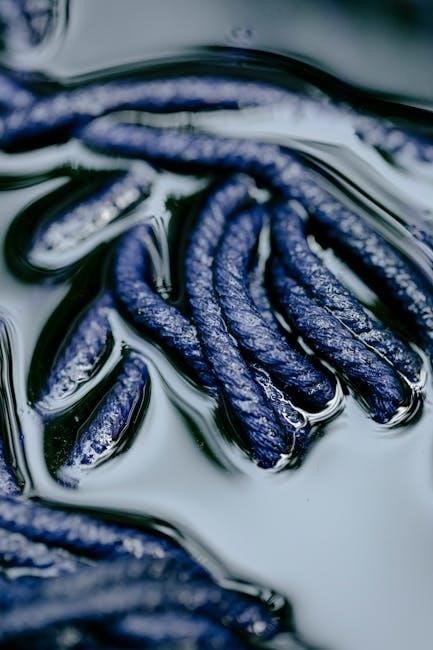
Shibori is an ancient Japanese technique that involves folding‚ twisting‚ or pleating fabric and binding it tightly with thread or string before dyeing․ This method creates intricate‚ resist-patterned designs where the bound areas resist dye penetration․ Shibori is known for its precise‚ geometric patterns and is often used to create elegant‚ high-contrast designs in tie and dye art‚ particularly with indigo dye․
3․3 Resist Dyeing
Resist dyeing involves protecting specific areas of fabric from dye by binding‚ stitching‚ or applying chemicals․ This technique creates sharp‚ defined patterns where the protected sections remain undyed․ Unlike folding‚ resist dyeing allows for precise control over design․ It’s widely used in tie and dye to achieve intricate‚ multi-colored designs and is favored for its versatility and creative possibilities in textile art․

Advanced Tie and Dye Methods
Advanced techniques involve multi-color dyeing‚ ombre effects‚ and intricate folding patterns․ These methods allow for layered‚ complex designs‚ creating unique textures and visual interest in fabrics․
4․1 Multi-Color Dyeing
Multi-color dyeing involves applying multiple dyes to create vibrant‚ layered designs․ This technique requires careful planning‚ as colors must be applied sequentially to avoid blending․ Using separate buckets or squeeze bottles for each color ensures precision․ Folding or binding techniques are applied between dye layers to achieve unique‚ intricate patterns․ This method adds depth and visual interest to tie and dye projects‚ making each piece truly distinctive and eye-catching․
4․2 Ombre and Gradient Effects
Ombre and gradient effects involve creating smooth transitions between colors; This is achieved by layering dyes or gradually soaking fabric in varying intensities․ Folding techniques can enhance these effects‚ producing soft‚ blended edges․ Ombre adds a modern twist to tie and dye‚ while gradients create dynamic‚ multi-dimensional designs․ These methods allow for endless experimentation with color and texture‚ resulting in striking‚ contemporary patterns․
Design Patterns and Inspiration
Tie and dye offers endless design possibilities‚ drawing inspiration from nature‚ art‚ and cultural trends․ Patterns range from geometric folds to organic‚ free-flowing designs‚ creating visually striking fabrics that reflect personal style and creativity․
5․1 Traditional Patterns
Traditional tie and dye patterns often feature intricate folds and binds‚ such as shibori‚ Adire‚ and Batik techniques․ These methods create distinctive motifs like spirals‚ stripes‚ and geometric shapes․ Natural dyes‚ such as indigo and earth oxides‚ are commonly used to achieve timeless‚ earthy hues․ These designs are deeply rooted in cultural heritage‚ symbolizing craftsmanship and storytelling through fabric․
5․2 Modern and Experimental Designs
Modern tie and dye explores innovative techniques‚ blending traditional methods with contemporary creativity․ Artists experiment with synthetic dyes‚ unconventional folds‚ and mixed-media elements‚ creating bold‚ abstract patterns․ Digital simulations and 3D printing inspire new looks‚ while sustainable practices emphasize eco-friendly dyes․ These designs push boundaries‚ offering fresh‚ dynamic aesthetics that appeal to modern fashion and art‚ while maintaining the essence of tie and dye artistry․
Troubleshooting Common Issues
Common tie and dye issues include uneven dye distribution and color bleeding․ Adjusting folds‚ using fixatives‚ and proper rinsing can help achieve consistent results․
6․1 Fixing Uneven Dye Distribution
Uneven dye distribution can occur due to improper binding or insufficient dye saturation․ To fix this‚ ensure tight‚ even folds and soak the fabric longer․ Gently agitate the dye bath and avoid overcrowding․ Using a level surface and consistent pressure during binding helps achieve uniform results․ Adjusting dye quantities and rinse times can also improve consistency․
6․2 Managing Color Bleeding
To minimize color bleeding‚ pre-treat fabrics with vinegar or salt before dyeing․ Use cold water for rinsing to prevent dye migration․ Avoid over-saturating the fabric and ensure even dye distribution․ Washing tie-dye pieces separately the first few times helps preserve colors; Using high-quality‚ color-fast dyes and following proper washing instructions can also reduce bleeding and maintain vibrant patterns․
Creative Variations and Innovations
Tie and dye techniques have evolved‚ blending traditional methods with modern innovations․ Experimenting with unique folding styles‚ digital simulations‚ and eco-friendly dyes offers fresh artistic possibilities while preserving the craft’s essence․
7․1 Combining Tie and Dye with Other Crafts
Tie and dye can be creatively merged with embroidery‚ quilting‚ or batik․ This fusion adds unique textures and patterns‚ offering artists a way to blend techniques and craft innovative designs․ By integrating these methods‚ crafters can achieve intricate‚ layered effects that elevate their work beyond traditional tie and dye‚ opening doors to new artistic expressions․
7․2 Digital Tie and Dye Simulations
Digital tie and dye simulations offer a modern approach to traditional techniques․ Using software‚ artists can design and visualize patterns before applying them physically․ This method enhances precision and reduces waste‚ allowing for endless experimentation with colors and folds․ It also enables the creation of complex‚ layered designs that would be challenging to achieve manually‚ blending technology with artisanal craftsmanship․
Cultural and Historical Significance
Tie and dye techniques hold deep cultural and historical value‚ originating in ancient civilizations․ They symbolize tradition‚ identity‚ and storytelling‚ preserving heritage while inspiring modern artistic expression․
8․1 Tie and Dye in Traditional Cultures
Tie and dye methods have been integral to traditional cultures globally․ In Africa‚ adire cloth symbolizes status‚ while in Asia‚ shibori techniques are revered in Japan and India․ These practices often carry spiritual significance‚ with patterns reflecting community values and myths․ Each culture uniquely adapts the technique‚ creating distinctive textiles that preserve heritage and cultural identity through generations․
8․2 Symbolism and Meaning Behind Patterns
Tie and dye patterns often carry deep symbolic meanings‚ reflecting cultural‚ spiritual‚ or philosophical themes․ Natural elements‚ geometric shapes‚ and abstract designs are used to represent life cycles‚ cosmic forces‚ or communal harmony․ Each motif is carefully chosen to convey emotions‚ beliefs‚ or social status‚ making the textiles not just decorative but also storytelling mediums that preserve cultural narratives and traditions․
Step-by-Step Tie and Dye Project
Discover how to create vibrant‚ unique designs through a structured approach․ Learn preparation‚ tying‚ dyeing‚ and finishing techniques to achieve professional results in your tie and dye creations․
9․1 Preparing the Fabric
Begin by washing and drying the fabric to remove finishes․ Iron to eliminate wrinkles‚ ensuring even dye absorption․ Soak the fabric in warm water mixed with soda ash to enhance color binding․ Allow it to sit for 4-6 hours before tying; Proper preparation ensures vibrant‚ long-lasting results and optimal dye penetration for desired patterns․
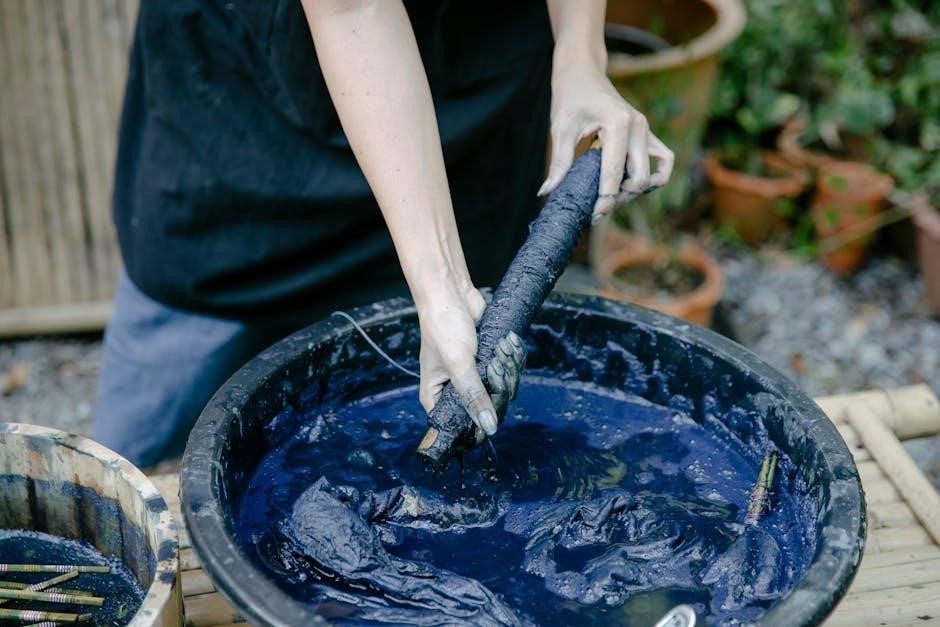
9․2 Tying and Dyeing
Fold‚ twist‚ or bind the fabric into desired shapes using rubber bands or threads․ Submerge in dye‚ ensuring even coverage․ For multi-color effects‚ dip sections separately or layer dyes․ Allow the fabric to soak for 6-24 hours‚ depending on intensity․ Gently agitate to prevent color pooling․ Avoid over-saturating to maintain crisp patterns and vibrant hues․
9․3 Washing and Setting the Dye
Rinse gently under cold running water to remove excess dye․ Wash in cold water with mild detergent‚ avoiding bleach or harsh chemicals․ Hand washing is recommended to preserve colors․ Repeat if needed until water runs clear․ Dry naturally‚ away from direct sunlight․ Iron while slightly damp to fix colors and restore fabric texture for long-lasting results․
Tips for Preserving and Caring for Tie and Dye Fabrics
Wash tie and dye fabrics gently in cold water with mild detergent to preserve colors․ Avoid bleach or harsh chemicals․ Store in a cool‚ dry place to maintain vibrancy and prevent fading․
10․1 Washing and Maintenance
Hand-wash tie and dye fabrics in cold water using a mild detergent to protect colors․ Avoid soaking for extended periods‚ as this may cause dye to bleed․ Gently agitate the fabric‚ then rinse thoroughly․ Do not wring or twist‚ as this can damage the material․ Lay flat to air-dry‚ reshaping while damp to maintain form․ Avoid machine washing or drying to preserve the design․
10․2 Storage and Display
Store tie and dye fabrics in a cool‚ dry place‚ away from direct sunlight to prevent fading․ Use breathable materials like cotton bags or paper for storage․ For display‚ consider draping over mannequins or frames to showcase patterns․ Use UV-protective glass for framed pieces to preserve colors․ Rotate items regularly if displayed in sunny areas to ensure even aging and color retention․